Almond milk is a super simple concoction, and a great DIY Basics project — especially if you have a Vitamix! I just got one, and am enjoying experimenting with it.

With just two ingredients — almonds and water — Almond Milk is a true basic, especially for vegans or those who can’t tolerate dairy. After soaking raw almonds, blend the almonds with fresh water, then strain through cheese cloth for a smoother, less gritty texture.

One issue with creating almond milk at home is that you are left with a significant amount of almond pulp after straining. Almonds are costly and I don’t like to waste food, so I wanted to make good use of the pulp. Stay tuned for a delicious recipe that uses all the goodness in the almond pulp, and a naturally sweet dessert using the finished almond milk. Enjoy!
Almond Milk
(makes about 6 cups of finished almond milk)
3 cups raw almonds
water
Soak the almond overnight in a covered container, with at least one inch of water covering the almonds. They will swell by about 30% in volume. Drain the almonds. You will likely have about 4 cups of almonds after soaking.
Measure 1 1/2 times as much water as almonds by volume into a blender or food processor. Process in two or more batches if the blender you are using won’t hold all the almonds and milk. Recombine the batches into one container prior to straining. After blending for about a minute, you have the option of using the almond milk as is or straining for a smoother texture.
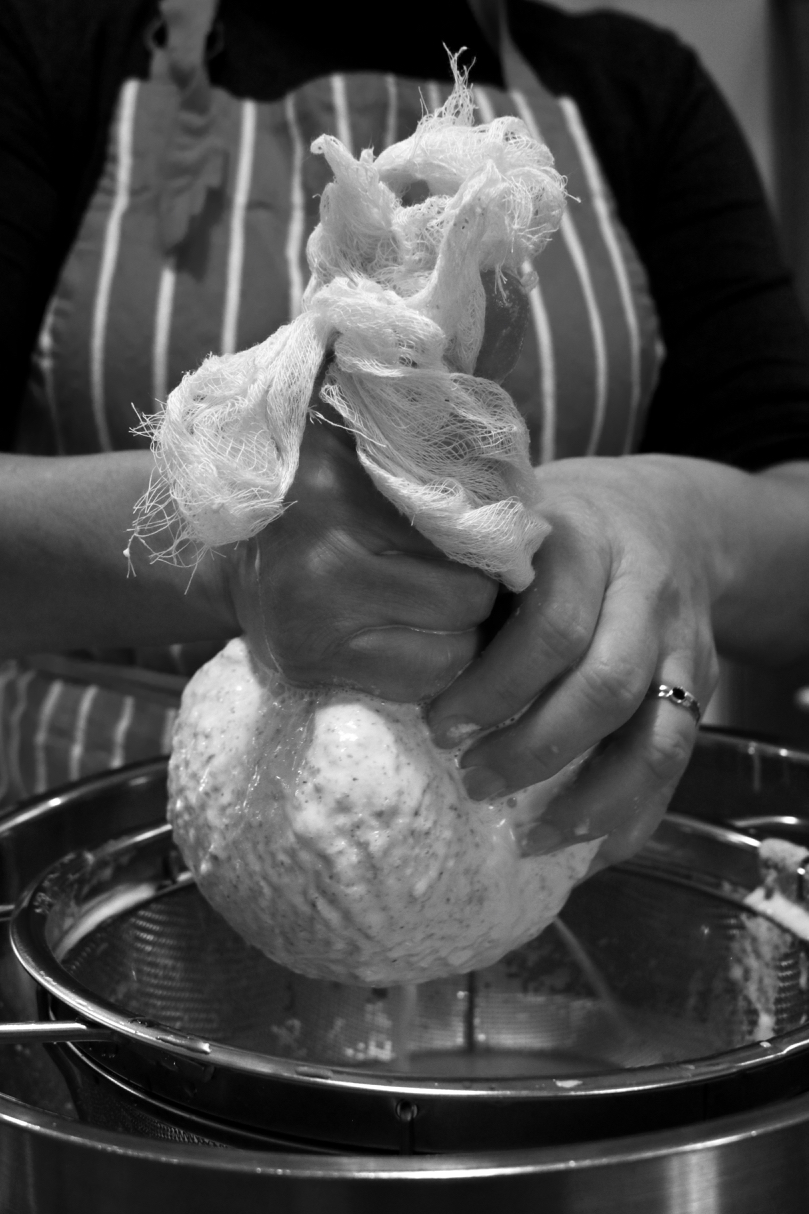
To strain, line a colander with two layers of cheese cloth. Pour the blended almond/water mixture through. As the liquid drains out, pick up the cheese cloth, gathering the loose sides to enclose the forming pulp. You will need to give a strong but steady squeeze to release as much of the milk as possible. Store almond milk covered, and in the fridge. It is perishable, and should be drunk or used in recipes within the week.


2 Comments Add yours