Many years ago a dear friend and I set out on a trip around the world. We quite literally circled the globe, heading west across the vast Pacific Ocean from California until we came full circle a couple months later. Wherever we visited, one of the things I loved most was learning what people ate. Each culture has its own cuisine, and it’s fascinating to see what food emerges from each particular locale and people. Toward the end of our trip we flew straight from tropical Africa to winter-weather London. I remember being stunned at the effect of freezing gray sleet on my suntanned, travel-weary body. Yet, joy is to be found everywhere.
 It came to me in the form of Tea at Harrods on a frigid November afternoon. I’m convinced that a hot pot of strong tea with scones, double devon cream & jam on a cold, gloomy afternoon is one of the greatest culinary achievements of all time. I have made these scones for years, and hope you enjoy them. Making scones is simple, as it’s the same technique as biscuit making. I’ve included a few tips for getting tender, light scones for those of you who are new to the art of biscuit making. And being an American, I mean a biscuit, not a cookie. : )
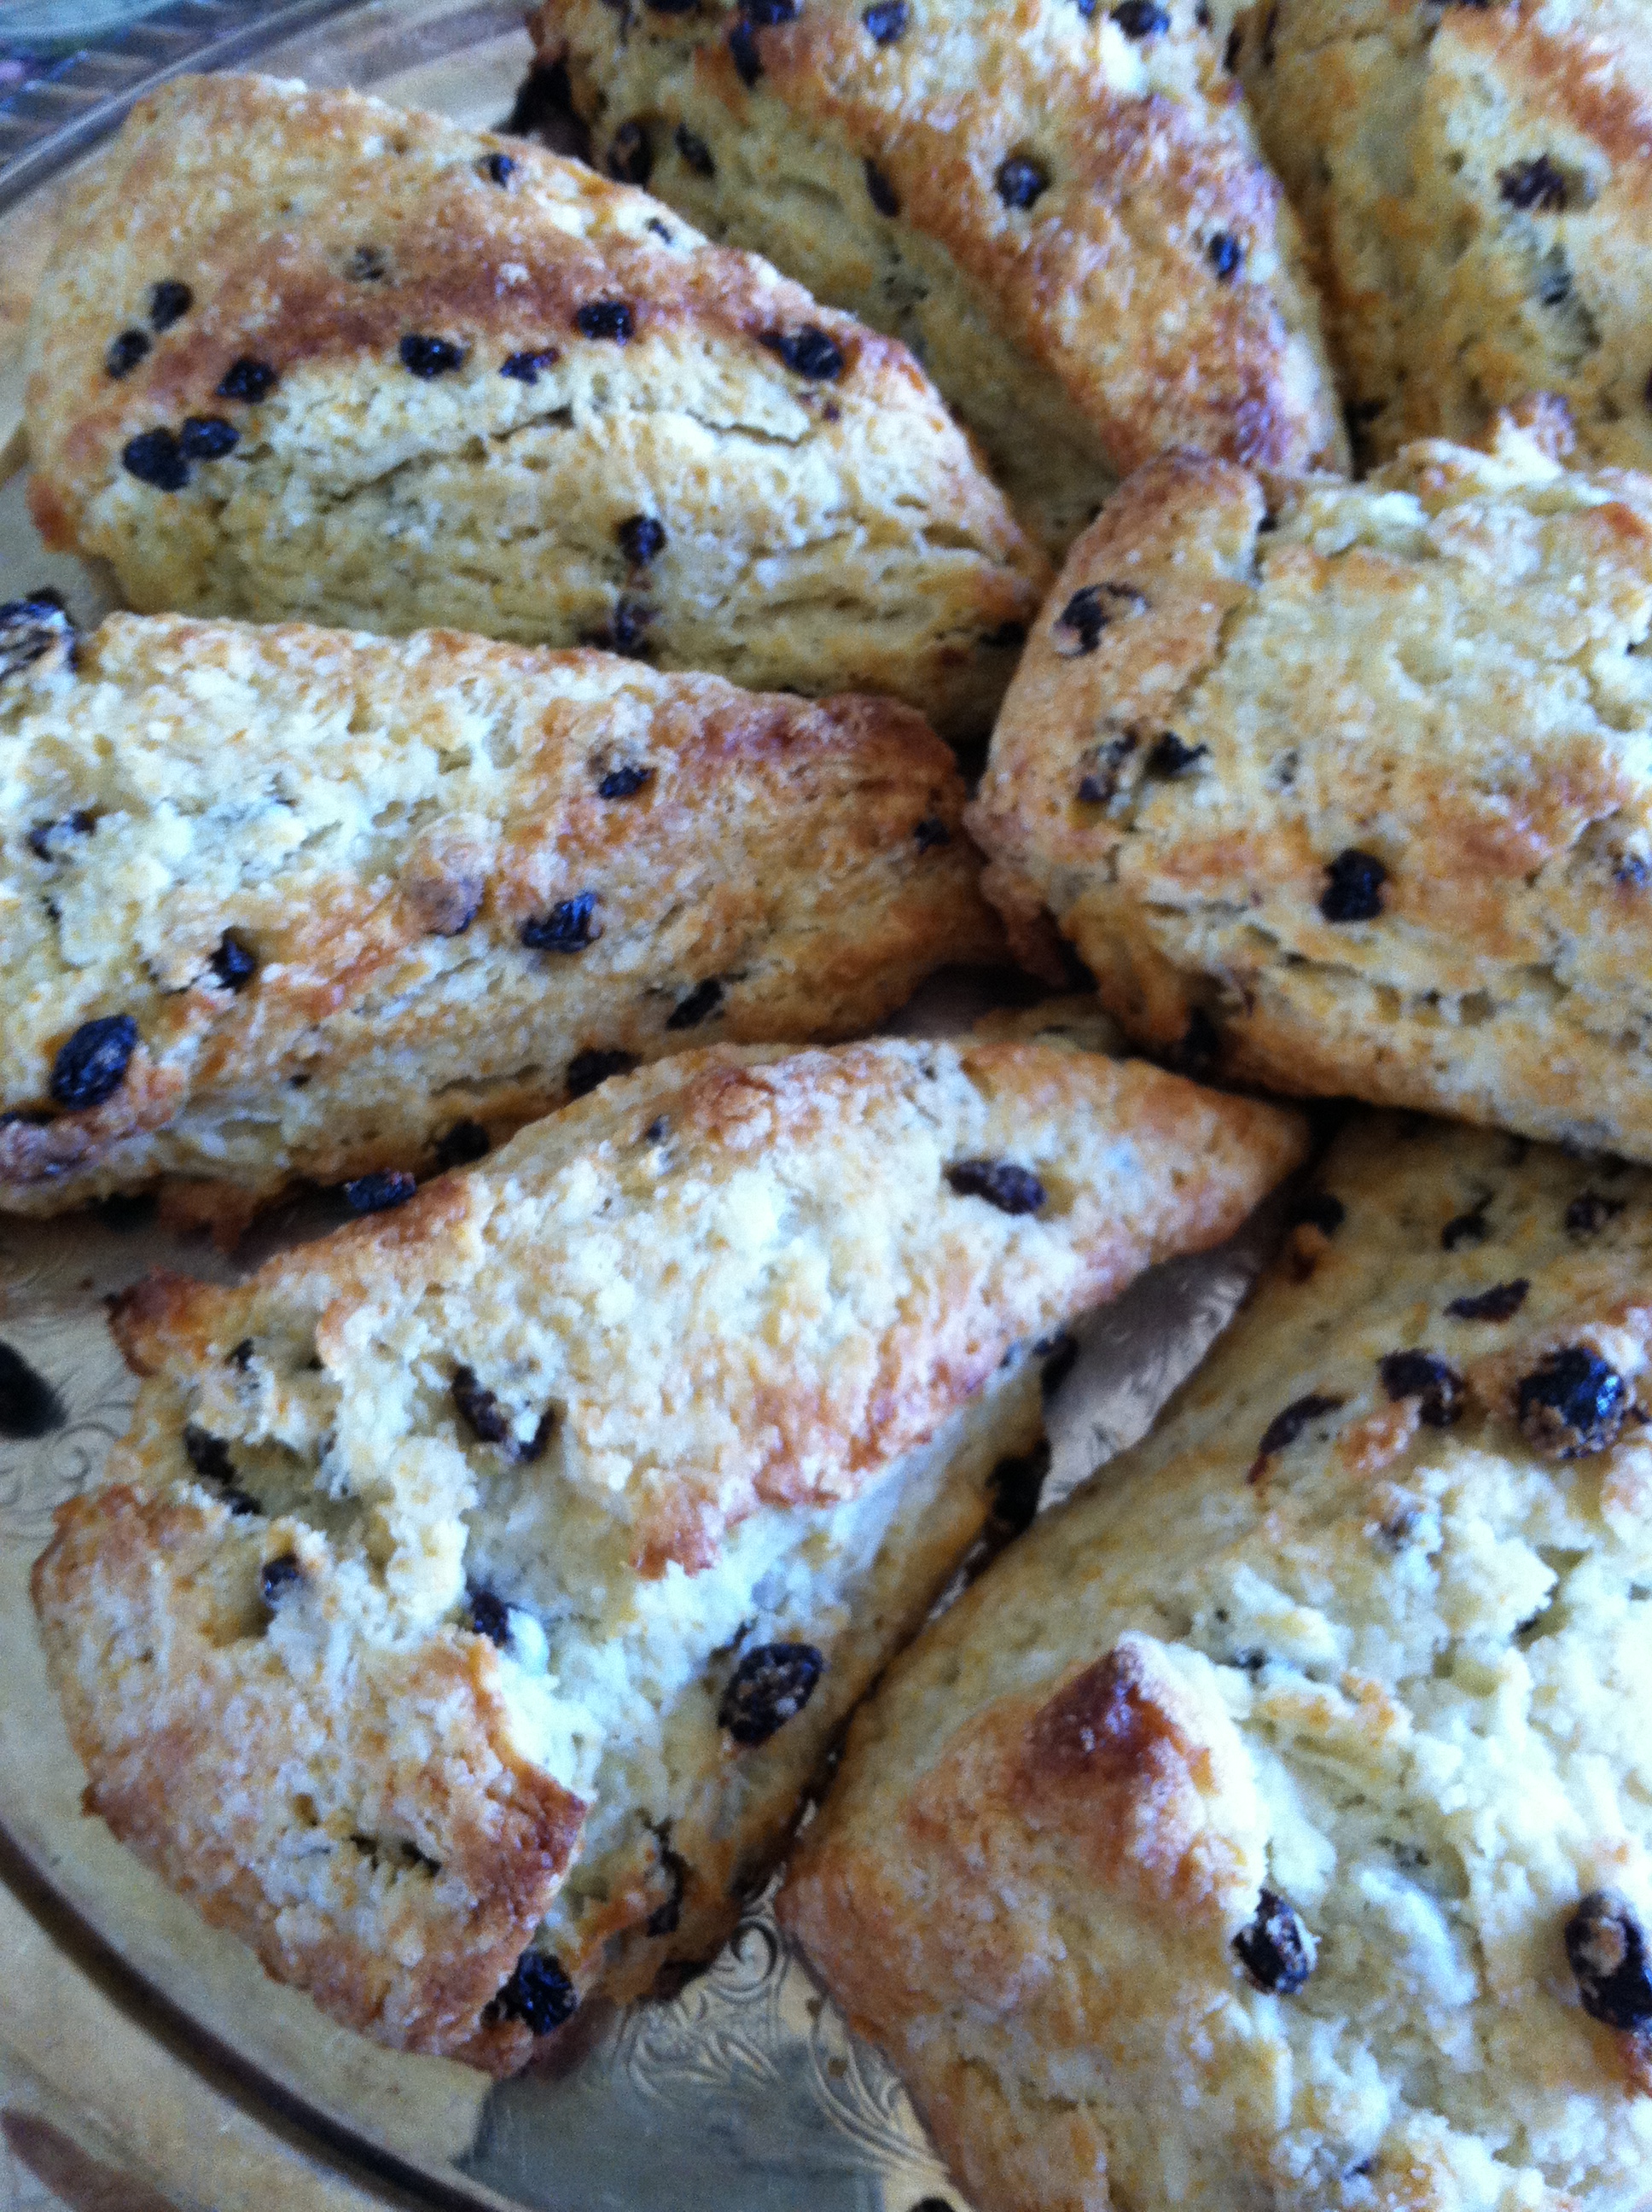
Currant Scones
makes 12 – 16 scones
3 cups (15 oz) unbleached all purpose flour
3 oz (rounded 1/3 cup) sugar
½ tsp baking soda
⅜ tsp salt
1 ½ tsp baking powder
6 oz (1 ½ sticks) cold unsalted butter, cut into ½ inch chunks
⅓ to ½ cup currants
9 oz (1 cup + 1 TB) buttermilk
In a mixing bowl sift together flour, sugar, baking soda, salt, and baking powder. *Cut the butter into the flour mixture. When the pieces of butter are no bigger than peas, add the currants and mix to distribute them.
Pour the buttermilk into a well in the center of the flour/butter mixture. **Gently incorporate the buttermilk into the flour/butter mixture until the scone dough forms. Form dough into a circle that’s ½ to ¾ inch tall and about 8 inches across. Using a sharp knife cut the scones into 12 to 16 wedges. Space the scones at least 3 inches apart on a baking sheet for proper baking. Bake at 425 for 15 – 20 minutes, or until golden brown on the edges.
Serve hot with jam, clotted cream or butter, and your best tea.
Note: This dough can easily be made up to a day ahead of baking. Also, the baked scones freeze well. Just thaw and briefly heat in a hot oven before enjoying.
* How to cut the butter into the flour mixture: This is a simple thing to do, but if you’ve never tried it before can seem a little tricky. It’s the same technique as making pie crust dough. Here’s a Vimeo with a good visual of cutting butter into flour. There’s even a great tool designed just for this purpose — a pastry blender.
** Pressing the dough together: The key here is to fold and press the dough together, rather than stirring. Stirring the buttermilk into the flour begins to create long gluten fibers as the water in the buttermilk comes into contact with the proteins in the flour. This is a good thing in yeast bread, but not a good thing in quick breads like scones and biscuits. The goal is to bring the dough together without making it too springy and tough. So err on the side of incompleteness when getting the dry and wet together. It’s OK if there are a few crumbly spots. It’s better not to over-handle the dough than to have a perfectly smooth round.
Ingredient Tip: How old is your baking powder? If it’s older than a year, toss it and buy new baking powder. It’s not bad, it’s just that it loses its effectiveness after time and exposure to moisture in the air. This is a key ingredient in getting beautiful, tender, light scones. When you buy baking powder write the date you bought it on the can so you can always know when it’s time to change it out.


One Comment Add yours