The Barbie Cake is a sugary creation of epic proportion. My daughter has been a Barbie fan for years. And so for years at her request I’ve made her a Barbie cake for her birthday. She just turned 17 and requested a Barbie cake. She usually had a particular actual Barbie she wanted in the cake — not the Barbie-like doll picks with which many cakes are decorated. Years ago I created this extra tall cake/skirt to accommodate an actual Barbie in all her leggy impossible plastic glory. I’ll document the process below, and will include several photos to help. In my house this is a once per year spectacle of cake, frosting and non-political-correctness. For my friends who’ve asked how to do a Barbie cake, here is what I do. I apologize in advance for the length of this post. It’s all for the love of a daughter. And birthday cake.
What you’ll need:
8-inch round cake pan
two cake mixes, and ingredients to make batter as noted on box
double batch frosting
decorating bags and tips
1. Prepare two cake mixes, or a double batch of whatever type of cake you prefer. I usually use a box mix with this cake as it creates a forgiving, light textured cake that doesn’t crack when I add the Barbie. Generously spray the pans with baking spray to prevent sticking. Here are the pans, unfilled:
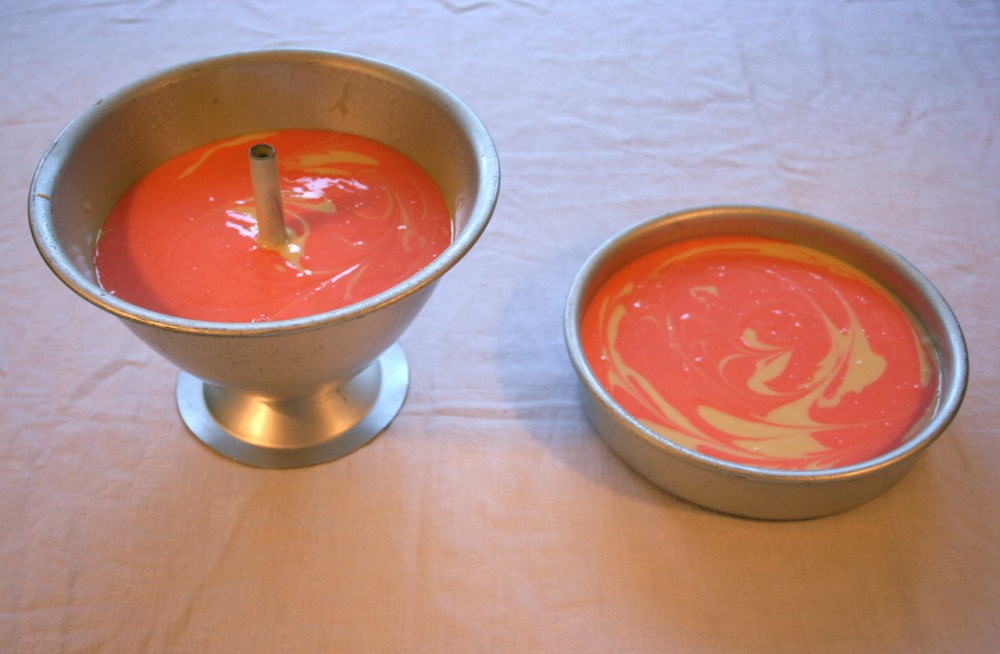
 2. Fill the pans with both cake mixes. The Wonder mold takes one entire cake mix, but I add extra and put the remainder in the 8 inch pan. Basically I add more batter to each pan than I normally would, but that’s because I want to have two level layers that are tall enough. Here are the pans filled with batter, before baking. This is a marbleized batter make with strawberry and vanilla mixes:
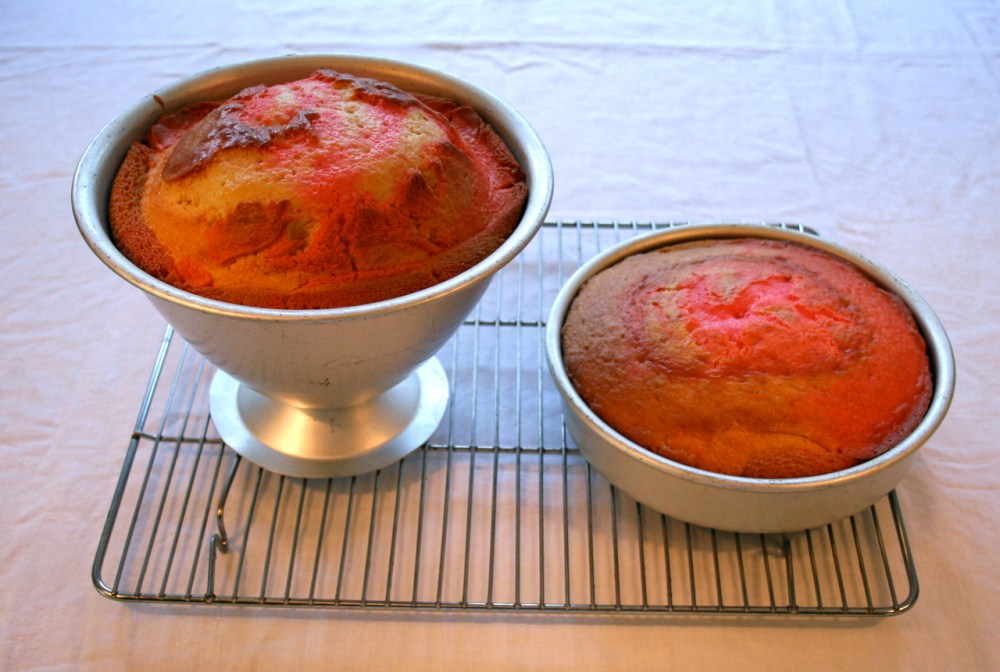
 3. Bake the cakes at 325. 8-inch round will be ready in about 35 minutes, the Wonder mold in about 45 – 50 minutes. When a toothpick inserted in the middle of the cake comes out clean, the cake is ready. Here are the baked cakes:
 4. Allow cakes to cool in their pans for 15 minutes, then un-mold and cool completely. Cut off the mounded tops of the layers so that their tops are level. Then place the 8-inch layer on a cake plate, and put a layer of frosting on the cut side, up. Invert the Wonder mold cake on top. Here are the layers, frosted together:
 And then the magic starts. Plunge the naked Barbie feet first into the cake. Hands up, Barbie! I put her hair up to keep it clear of the cake while I’m frosting the bodice. Here’s the cake, with Barbie:
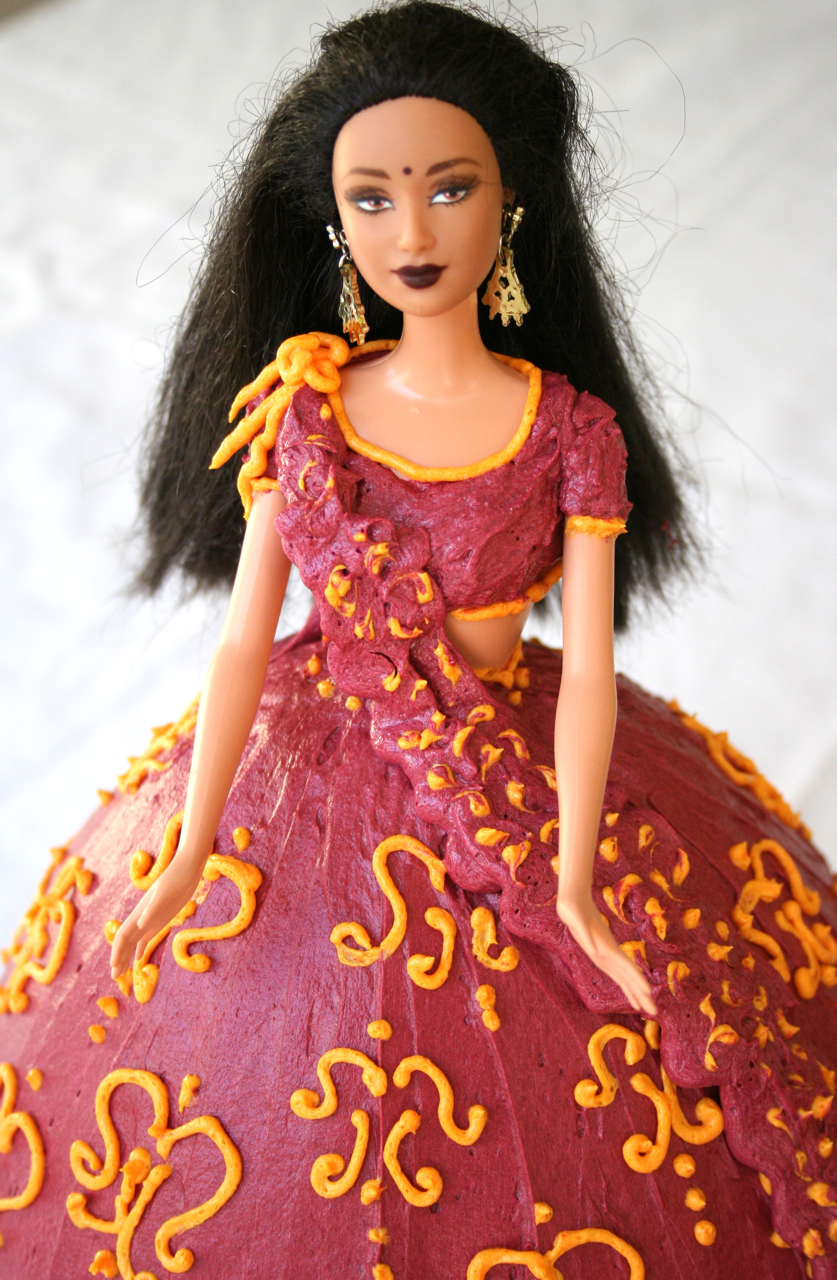
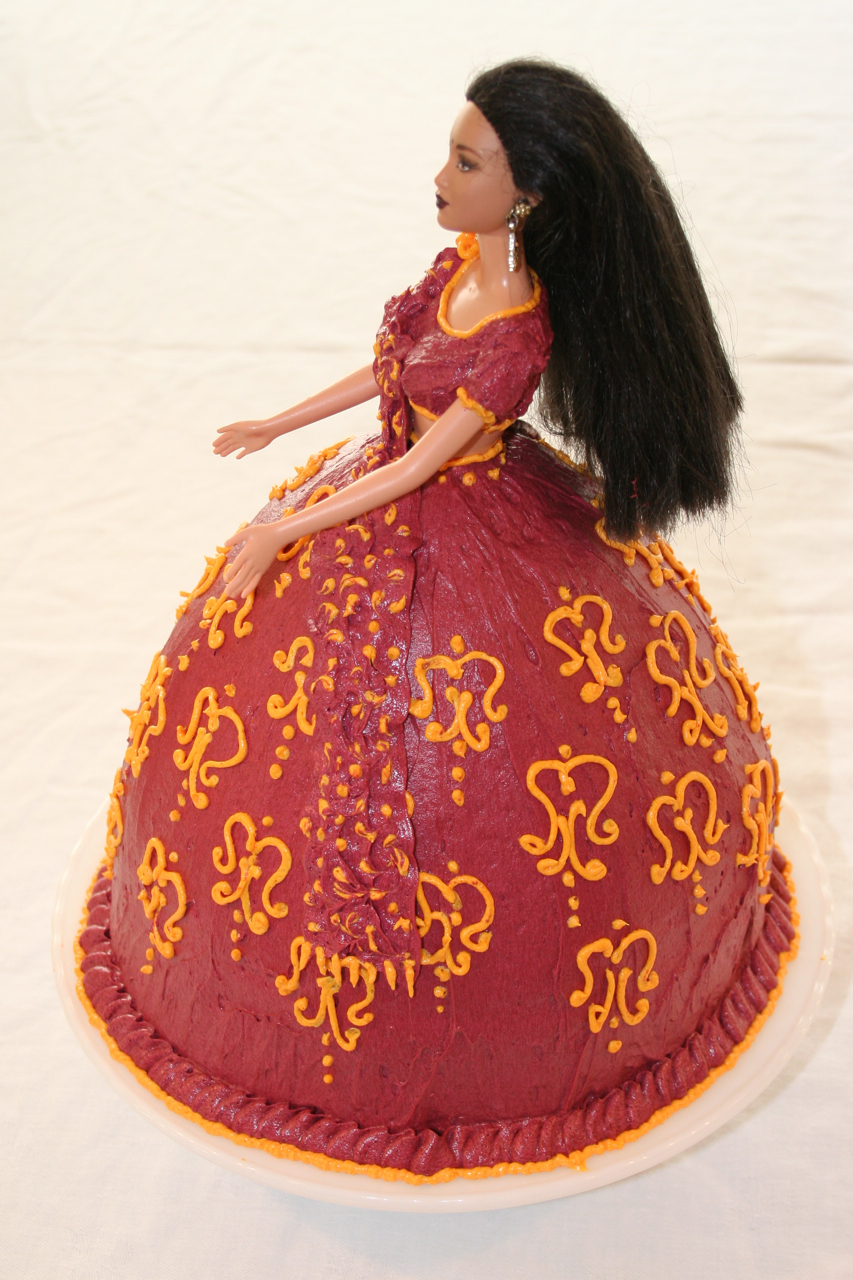
 5. Now the fun begins. Using you favorite buttercream frosting, food coloring (use paste color), pastry bags and tips, go to town creating Barbie’s dress to your liking. This cake used an Indian Princess Barbie, so her gown is loosely based on a sari. I used two tips for this decorating, a ruffle tip and a small round tip. Here is the finished Barbie cake:


FABULOUS!!!!!!!!!!! That’s the coolest Barbie of all – Dancing Barbie, in a gorgeous gown.
So u don’t need to cut a hole in the middle of the cake b4 u insert the doll ? or wrap her legs in plastic ? Just plunge her into the cake ? lol Oh Please let me know I love this beautiful cake.
Hi there. No hole needed — because the dress part of the mold already creates a small hole, about 1 cm in diameter. I don’t wrap the doll’s legs in plastic. We’ve always just washed off the doll with dish soap and she’s almost good as new. Cutting the cake is always a little risque. Enjoy and good luck.
Thank you so much for getting bac to me ASAP … Also taking time out to share how u prepare your Barbie cake in great details…I’m a up coming baker that love to make fondant cake especially for kids ,and this Barbie cakes will help me prepare for my Barbie cake I have to make this month for a 5 year old girl . ….. Keep up the gud work!!!!! 🙂